September 25, 2025
•
5 min read
Want to start adding captions to your LinkedIn videos (the easy way)? We've got a simple guide that will walk you through every step.
.jpg)
Back in 2017, LinkedIn embraced the power of native video uploads, transforming itself into a dynamic hub for business-focused content. Since then, video has become an essential tool for marketers and professionals on the platform. But if you’ve been sharing videos on LinkedIn, you’ve likely asked yourself a critical question: is it really necessary to add captions?
The short and simple answer is yes! Here's why. Videos on LinkedIn automatically play on mute, and you have just a few seconds to capture a viewer’s attention before they scroll on. In fact, statistics show that nearly 80% of social videos are watched without sound, which means a huge portion of your potential audience could be completely missing your message. Captions are the bridge that ensures your content gets seen and understood, even when the volume is off.
That’s where we come in. At Zubtitle, our mission is to make adding captions to videos effortless, giving your content a much better chance to shine. With just a few clicks, our intuitive software lets you add perfectly timed captions, trim and resize your video, include eye-catching headlines, add a progress bar, and apply your logo for a fully branded look. We're here to make your video marketing as smooth and effective as possible.
You can easily get started with our free plan, which allows you to create two videos per month. Just sign up for an account with Zubtitle and upload your video file. Simply click the yellow Add New Video button located in the top right-hand corner. Once your file is uploaded, Zubtitle will automatically transcribe the audio and generate perfectly timed captions. It’s not magic, but it's pretty close!

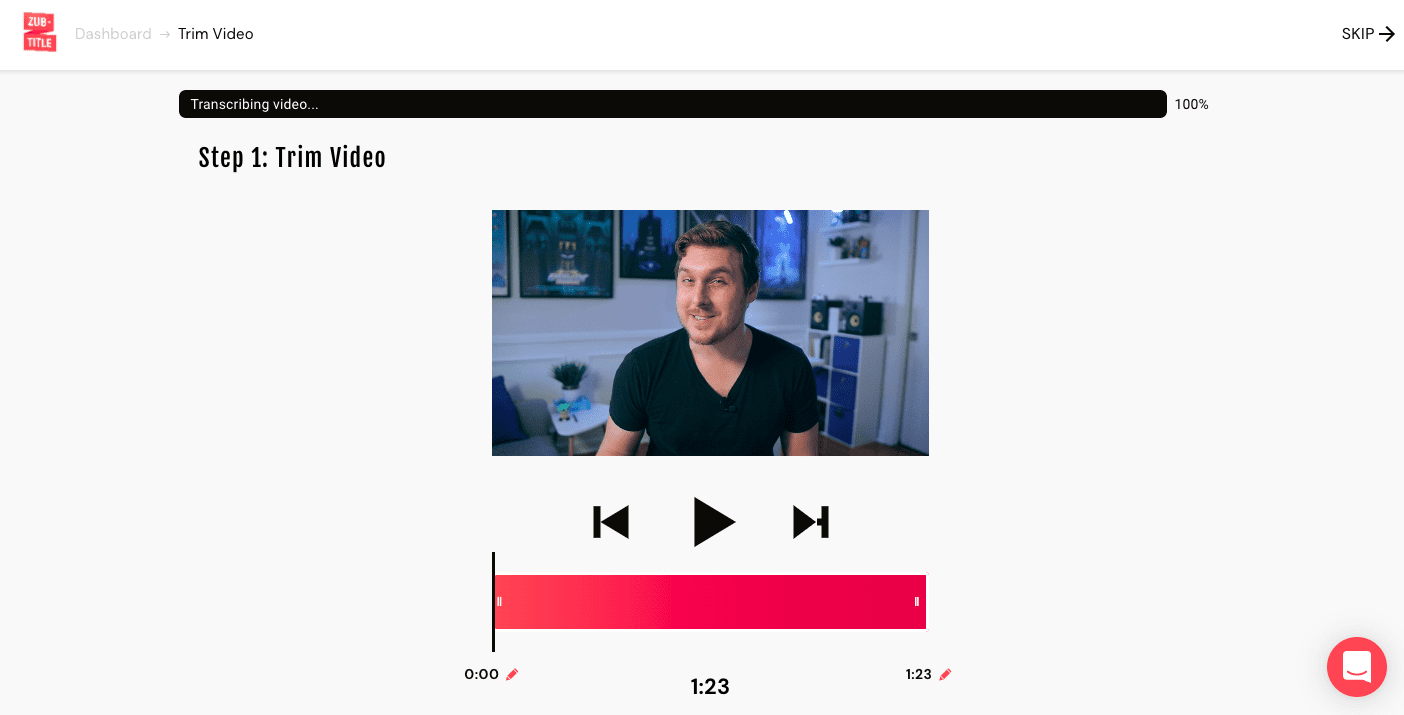
Right after your video finishes uploading, you’ll have the option to trim its length. Use the easy sliding bar to adjust the beginning and end of your video, and then click the Start Editing button when you're done. If your video is already perfectly trimmed, you can choose to skip this step entirely.
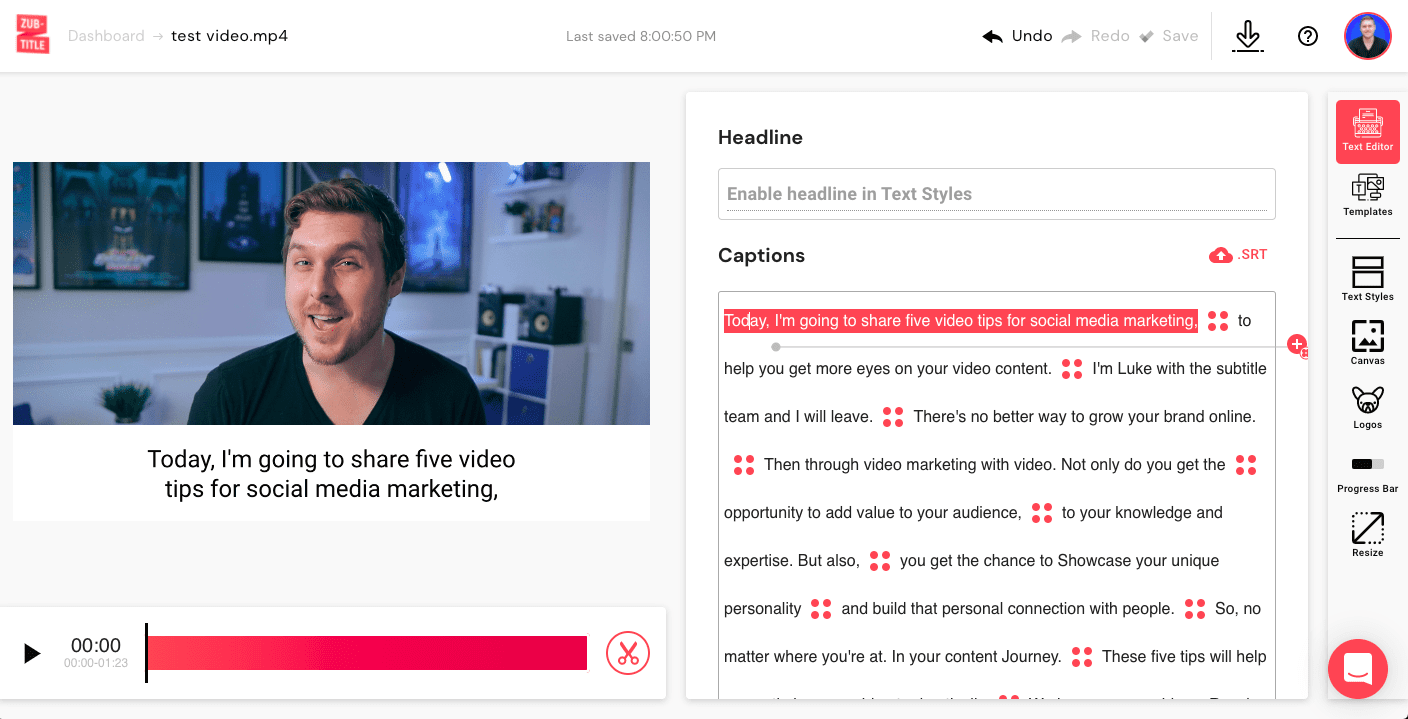
While our speech-to-text technology is highly accurate, it's always a good idea to double-check your subtitles. You can effortlessly edit any grammar or spelling mistakes and even adjust the timing of the captions using our simple point-and-click text editor. This is also where you can add a headline to your video.
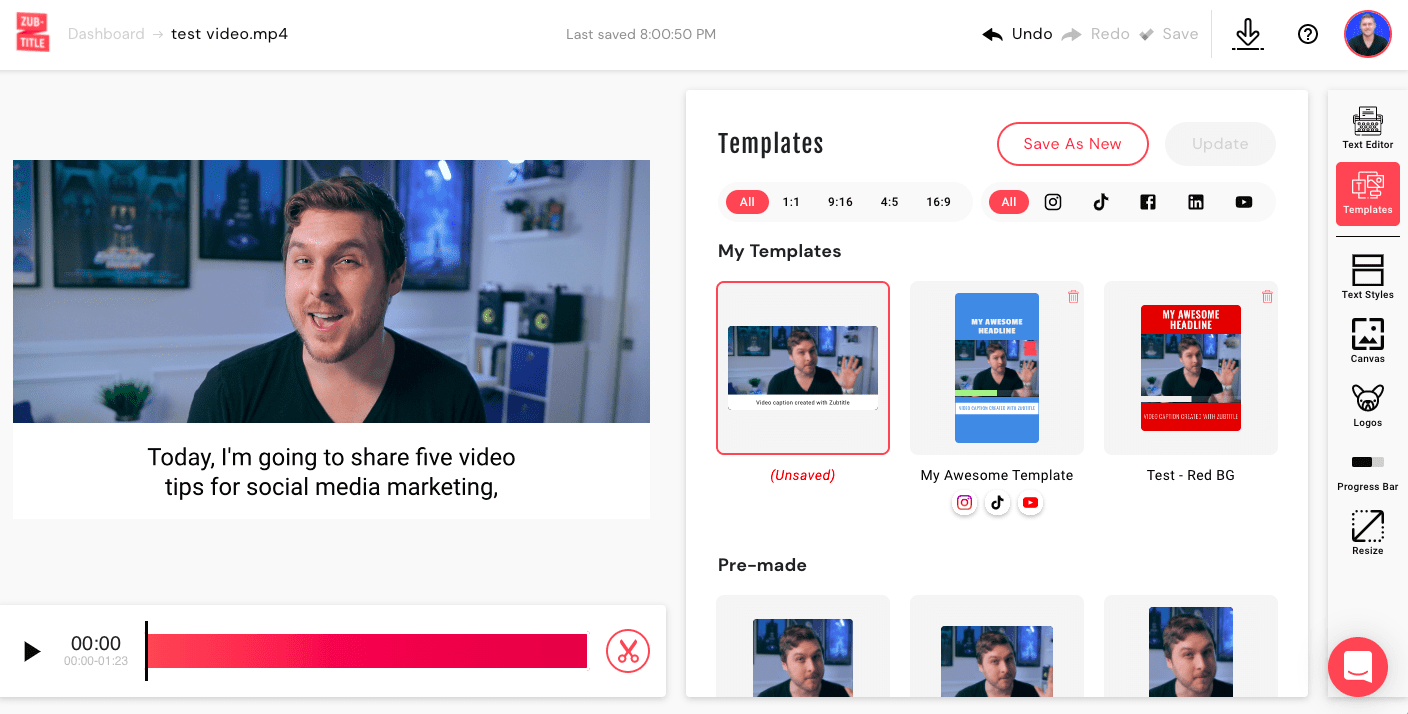
Want to make your video look professional and on-brand? Our Templates feature lets you quickly apply a pre-made template from the Default list, which includes multiple styles and sizing options.
For full customization and branding, you can go through the side menu to select every feature yourself. You can add a headline, change text and background colors, upload your own custom fonts, fine-tune the caption positioning, and even add your logo and a progress bar. If you customize your own video styling, you can save it as your own custom template for even faster editing next time!
When you're happy with your video, just select the download button in the top right-hand corner. Zubtitle will render your new video and save it directly to your computer or device.
From the homepage of your LinkedIn account, whether on the web or mobile interface, you can upload your video directly into a new post. Just select your newly optimized LinkedIn video file and click Post!
Captioned videos on LinkedIn get more engagement and help you connect with a broader audience. Why wait?
You can sign up for a free Zubtitle account today to get started! With our free plan, you can create two videos per month. To create up to 10 videos per month (and remove the Zubtitle watermark), be sure to check out our Guru plan.


.jpg)
See why creators love using Zubtitle – start editing your videos risk free with two video credits on us!